Better web fonts with @font-face
Since
CSS2
we had the opportunity to take advantage of
@font-face
and use custom font types for our web applications. Rather than being limited to
default web fonts
we now can use our own font-family and style the web how we like it. With simple inclusion of few CSS parameters the magic happens:
markup:
@font-face {
font-family: 'PacificoRegular';
src: url('Pacifico-webfont.eot');
src: url('Pacifico-webfont.eot?#iefix') format('embedded-opentype'),
url('Pacifico-webfont.woff') format('woff'),
url('Pacifico-webfont.ttf') format('truetype'),
url('Pacifico-webfont.svg#PacificoRegular') format('svg');
font-weight: normal;
font-style: normal;
}
h1,h2,h3,h4,h5,h6{
font-weight:normal;
font-family:'PacificoRegular', Arial, sans-serif;
}
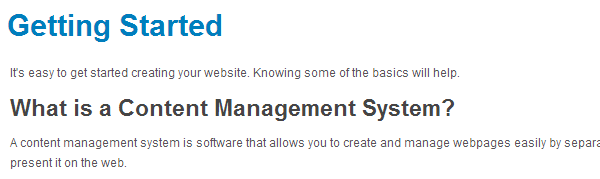
and you can turn your font style from:
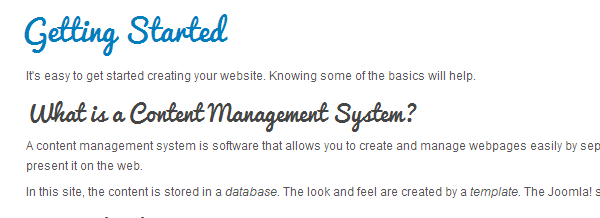
in to something more stylish like:
Using FoontSquirrel @font-face kits in YJSG based templates
As you can see above , the process is simple but instead of looking for or creating web font files you can use free service provided by
FoontSquirrel
which will let you download or generate @font-face kits and use them as they are in your YJSG based templates. For demonstration purpose please go to
Pacifico @font-face kit
click on @font-face Kit above the specimen and than click on the big blue button that says Download @font-face Kit.

Since we are using
wamp
we will download the zip file to site_root/templates/yjsg_template_name/css/fontfacekits folder. If you are doing this on a live server , download the zip, extract it to its own folder and upload that folder to the path mentioned above. For your convinience YouGrids template is deliveered with PTSansNarrowBold @font-face kit:

Right click on the pacifico-fontfacekit.zip file and extract to its own folder:

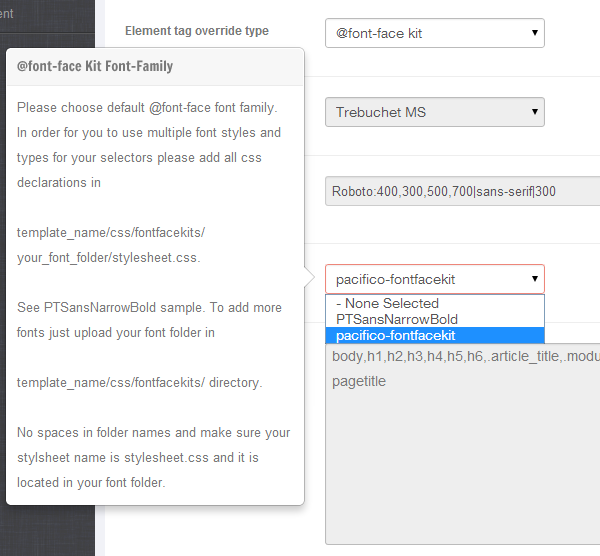
Go to your template manager, tab name Style and activate following parameters:
- Use Element Tags font override set to Yes
- Element tag override type select @font-face kit
- From @font-face Kit Font-Family select, choose your newly created @font-face kit folder which in our case is pacifico-fontfacekit
Add custom style declarations
Since @font-face usage sometimes requires you to change font size , font weight or other font attributes , we have disabled Affected selectors param in template admin if you select @font-face kit as your elements tag override, and you should add all your declarations to
site_root/templates/yjsg_template_name/css/fontfacekits/your_font_face_kit/stylesheet.css file.
Please make sure that the css file in your @font-face kit folder is always named as stylesheet.css and that you don't have any space in your @font-face kit folder name.
Now open the stylsheet.css file and add this code to change font-family for headings , article title, module title and component name:
h1,h2,h3,h4,h5,h6,.article_title,.module_title,.pagetitle{
font-weight:normal;
font-family:'PacificoRegular', Arial, sans-serif;
}
your output should be this:
example: